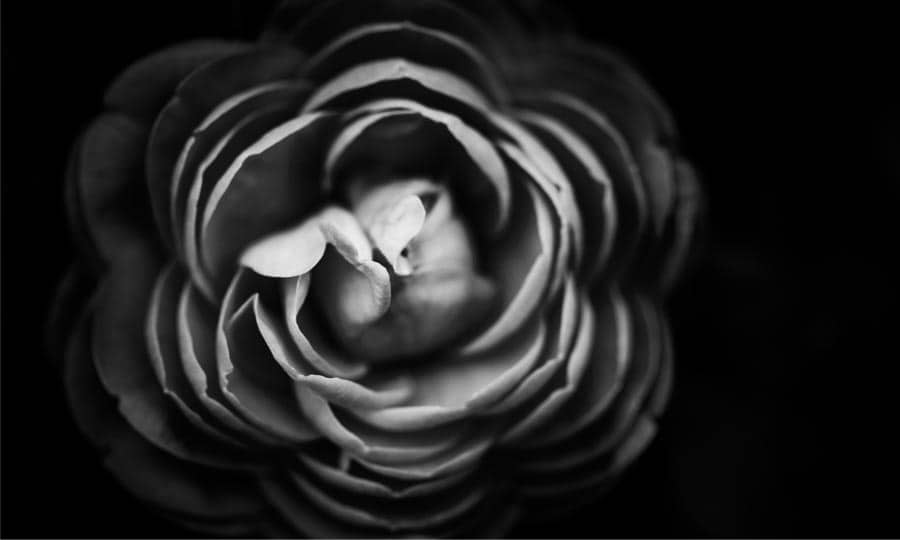
How To Make An Image Black And White
Gone are the days (for the most part) of black and white photography, however if you miss that, or just want to relive some of the beauty in simplicity, then it is very easy to accomplish in Corel PHOTO-PAINT.
Now when I say Black & White photography, what we are actually saying is Grayscale. True black & White is just that, either black, or white, No inbetween. Let’s see how easy it is.
1. Open the Image
There are a couple of ways to open the image. From the Welcome Screen, select Get Started and then click on the button to Open Document, alternatively, from File > Open. Once the image is open you will want to import the image that you will be using for the watermark. Typically this image should be a png with a transparent background. To import the watermark image, from File > Import. Position the watermark where you wish, typically bottom right corner.

2. Converting to Grayscale
With the image open, Image > Convert To > Grayscale (16 bit). In this dialog box, there are a couple of options. You can use either the default grayscale color profile, by leaving the box selected, or deselecting it will allow you to adjust the individual channel and dictate how dark or light each of them will be. In this image you can see what the results would look like if it was left selected.

3. Deselecting the Default Color Profile
Once you deselect Use default grayscale color profile: Dot Gain 20% you will have the ability to use the sliders.

4. Next Steps
Now that you have applied the effect, you can save the file out or continuing to edit your image in other ways.

CorelDRAW Graphics Suite does more than just make black and white pictures
Check out some of the other graphic design features in CorelDRAW Graphics Suite, like How To Add Lens Flare Effect, How To Use Photo Masks, How To Add Color Splash, and more! Create high quality designs in a fun and easy to use graphic design software and make your work stand out more than ever.


