How To Make a Monogram
A monogram can be a very important part of a brand package, it is a motif made by overlapping or combining two or more letters to form one symbol. They are usually individuals initials or that of a company and can be used as a symbol or logo.
There are a number of monogram maker applications, however, it can be both easy and fun to create a monogram in CorelDRAW. Here is how to make a monogram.
1. Set the page size
We will start with a new document and because we are creating a monogram. At this point the page size is not important. We are creating vector file so it can be resized at any time to the desired size. From the New Document dialog box (File > New), set the preset destination to Default RGB. We can leave the rendering intent at 300 and click OK.
2. Choice of Font
The choice of font is probably the most critical aspect of creating a monogram. It is the font choice that will give the look and feel. There are many styles to choose from, such as Traditional, Modern, Retro, Whimsical or Curly, to name just a few. There are also monograms with frames or borders.
Use the Text tool to type three Artistic text characters. From the Object > Break Artistic Text: MichelleFLF (Medium( ENC) Apart MichelleFLF (Medium( ENC) is the font that I used for this monogram. Now that the letters have been broken apart, you are able to move them to where they form the monogram

3. Output your monogram
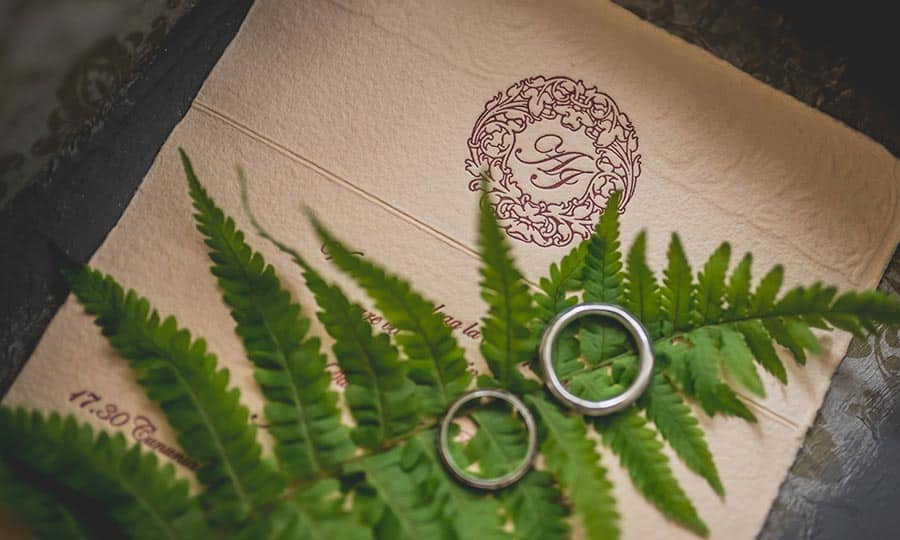
Once you have completed your monogram, there are a number of uses for it. It can be used as a logo, printing on wedding invitations, engraving onto glassware or embroidered on bathrobes and hand towels, just to name a few.

CorelDRAW does more than just make monograms
Check out some of the other graphic design features in CorelDRAW Graphics Suite, like How To Make An eCard, How To Make A Web Banner, How To Create A Newsletter, and more! Create high quality designs in a fun and easy to use graphic design software and make your work stand out more than ever.


